
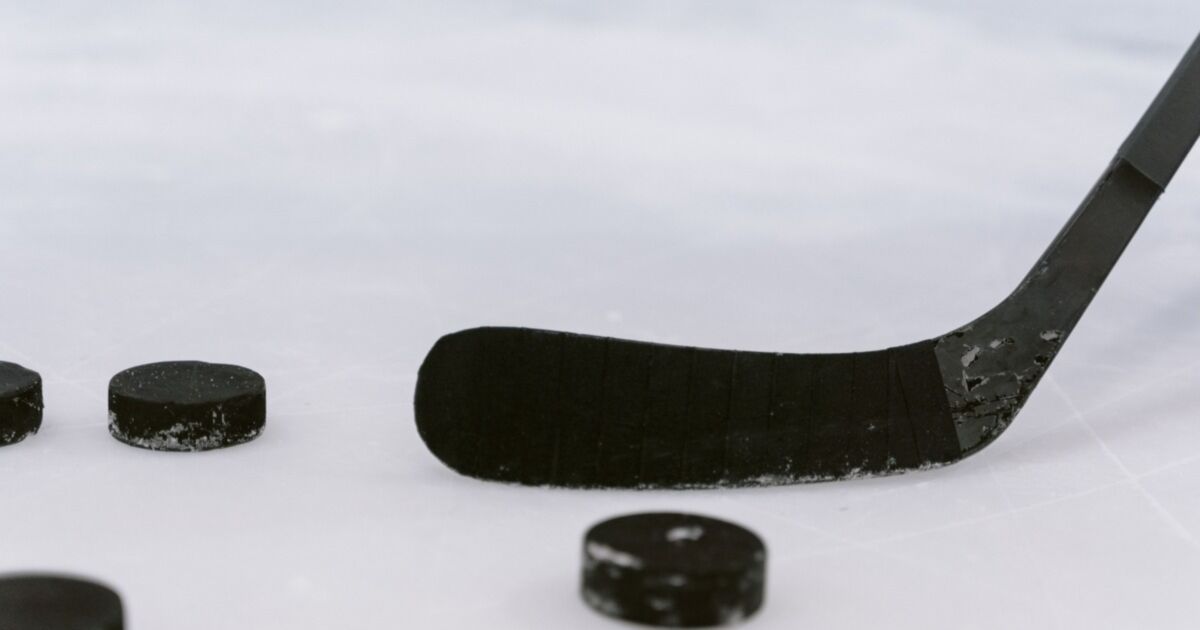
How to Tape a Hockey Stick: Blade, Grip and Knob Guide
Taping a hockey stick is a simple part of game prep, but it can noticeably affect how the stick feels. The right tape job can protect the blade, improve grip, and give you a more familiar feel when passing, shooting, or stickhandling. Most players eventually develop their own routine, and there is no single method that everyone needs to follow.
The good news is that you do not need much equipment to get started. With some hockey tape, a pair of scissors or a dedicated cutting tool, and a few minutes of practice, you can create a clean and durable tape job at home or in the dressing room.
What You Need Before You Start
Start with a clean stick and remove any old, damaged tape from the blade and shaft. Check the stick for cracks or other visible damage before applying anything new. Tape can protect a surface from normal wear, but it should not be used to hide structural damage.
For cutting tape, ordinary scissors are perfectly adequate. Players who tape sticks frequently may prefer something designed specifically for the job, such as the Blue Sports Pro Tape Tiger Knife. Having a sharp cutting tool makes it easier to finish the tape neatly without pulling or tearing the last section.
You should also decide whether you want traditional cloth tape or a dedicated grip product. Modern stick grips and end plugs can change the feel of the shaft and make it easier to customize the handle to your preference.
How to Tape the Blade
Begin at the heel of the blade and work toward the toe. Hold the tape firmly and wrap it across the blade, overlapping each pass slightly. Try to keep the tension consistent as you move along.
There is no requirement to cover every millimeter of the blade. Some players tape almost the entire surface, while others leave part of the heel or toe uncovered. Blade shape and personal preference both play a role.
Avoid stretching the tape excessively. A little tension helps produce a smooth finish, but pulling too hard can make the tape uneven and more difficult to work with.
When you reach the area you want to cover, cut or tear the tape and press the final edge firmly against the blade. Run your fingers across the finished surface to make sure there are no obvious loose sections.
Choosing the Right Tape
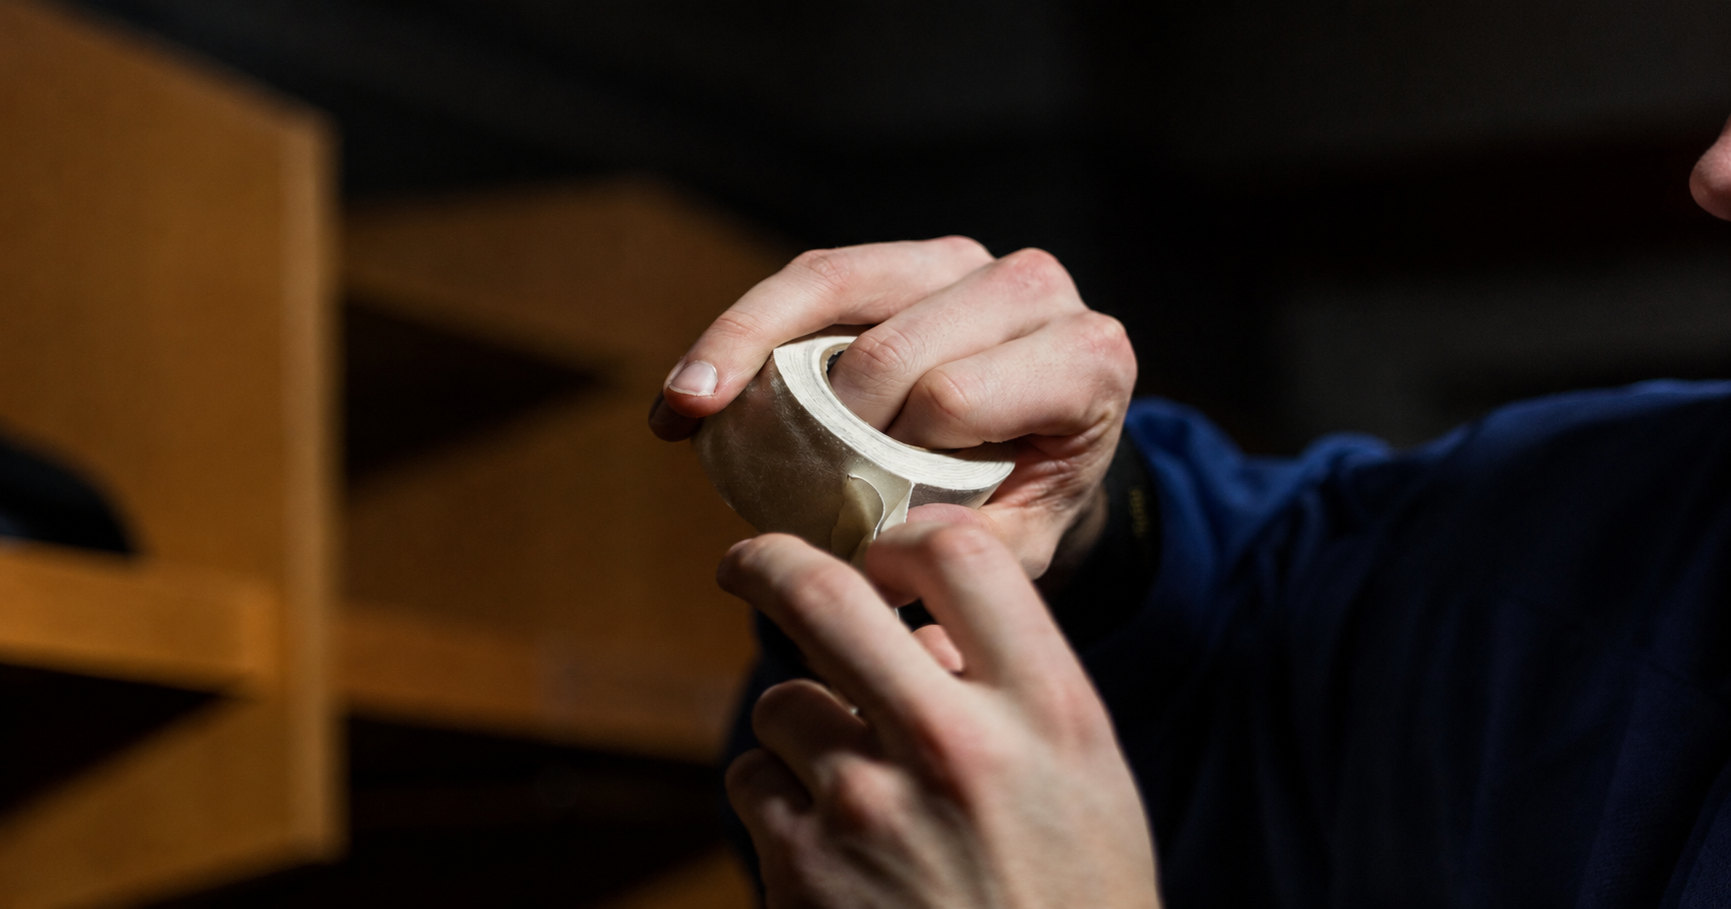
Traditional cloth tape remains a popular choice because it is easy to apply and provides a familiar surface for puck control. One example is Howies Black Hockey Tape, which is designed specifically for hockey applications.
Black is a classic choice, but the color itself is mainly a matter of preference. What matters more is the quality of the application and whether the tape provides the feel you want.
Different ice hockey sticks can also feel slightly different when taped. Blade construction, shape, and finish can all affect how the puck feels, so it is worth experimenting with your own stick rather than copying another player’s exact setup.
For example, the CCM Tacks XF 70 Senior Ice Hockey Stick can be taped using the same basic method as other player models. However, you may find that a particular amount of blade coverage feels better with its blade than with another stick.
How Much Blade Should You Tape?
There is no universal answer. A player who takes a lot of wrist shots may prefer a familiar full-blade tape job, while another player may prefer less coverage.
The important thing is consistency. If you regularly change the amount of tape before games, it can make the stick feel unfamiliar. Try different approaches during practice first and settle on the one that gives you the best combination of control and comfort.
This is particularly useful with player sticks, because players tend to have very different preferences for puck feel. Once you find a tape pattern that works, there is little reason to change it constantly.
How to Build the Knob?
The knob is the raised section at the top of the shaft. It gives your upper hand a defined stopping point and can make the stick easier to control.
Start at the very top of the shaft and wrap several layers of tape around it. Build the knob gradually until it reaches a comfortable size. Some players prefer a small and rounded knob, while others like a larger shape that is easier to feel through the glove.
Avoid making it unnecessarily large. A huge knob can become uncomfortable and may interfere with your normal grip.
If you need additional shaft length, an end plug can be installed before you finish the knob. The CCM Senior Stick End Plug is one example of an accessory designed for this purpose. Bauer also produces the Bauer Vapor Senior Stick End Plug for compatible shafts.
Another option is the Blue Sports Black Stick End Plug. Regardless of which product you choose, check that the plug is compatible with your particular shaft before installation. It should fit securely rather than relying on tape to hold an unsuitable plug in place.
Adding Grip to the Shaft
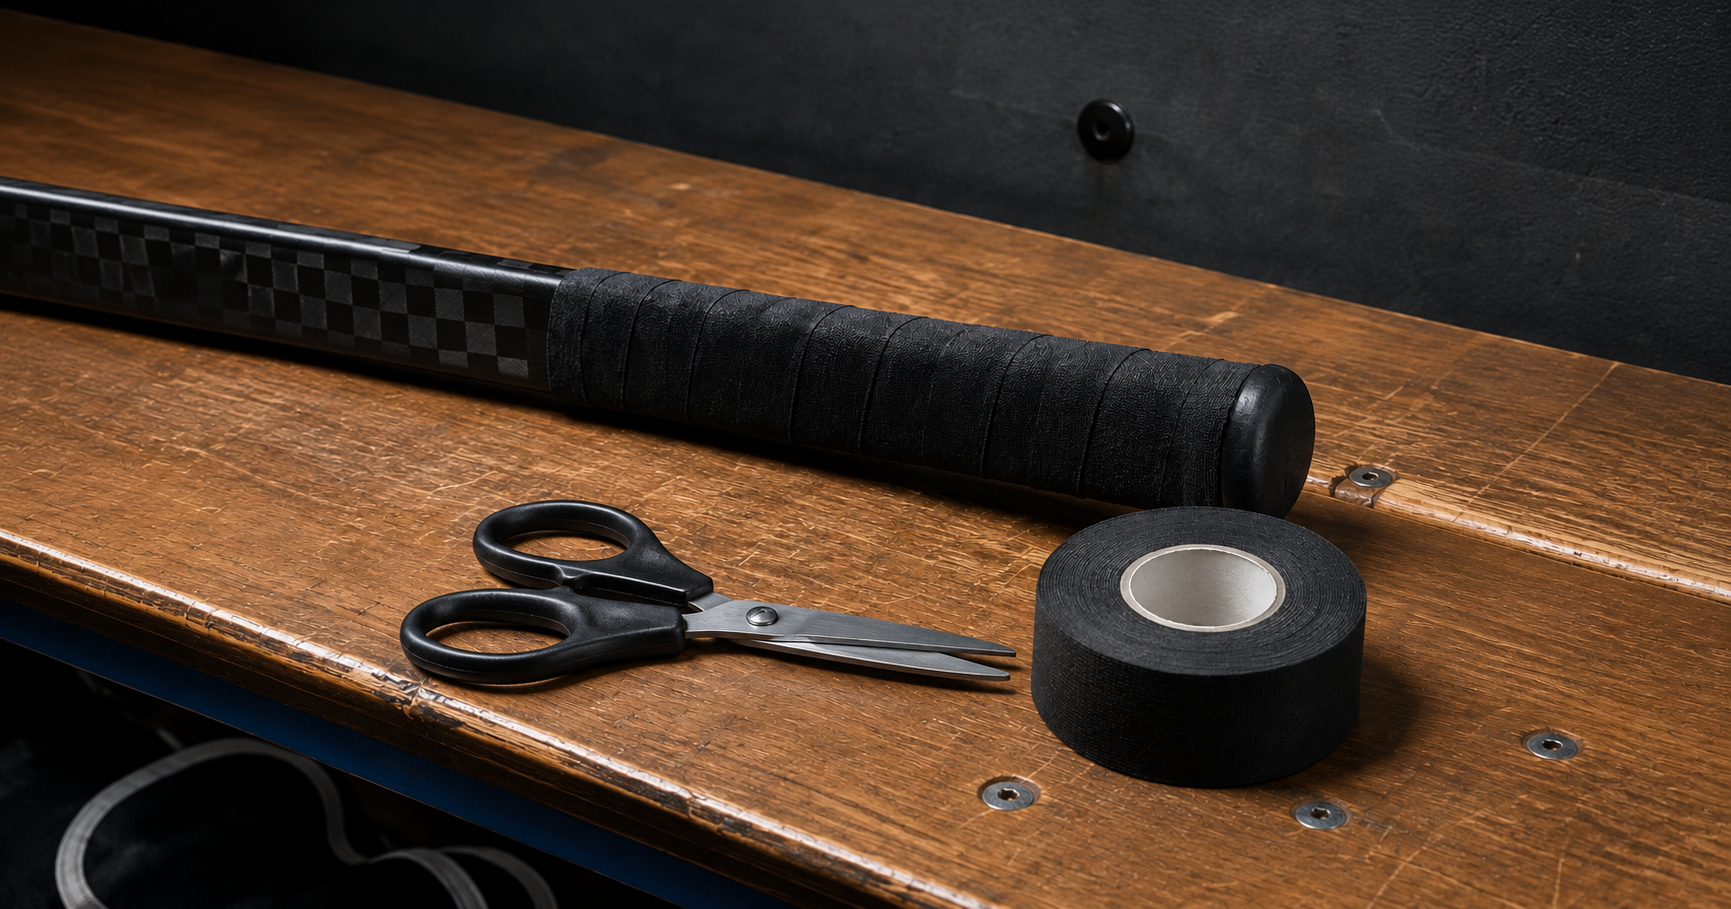
Once the knob is finished, you can add tape below it to create a comfortable grip. The traditional method is to wrap cloth tape down the shaft in a spiral, keeping the spacing between each wrap reasonably consistent.
You do not necessarily need to tape the entire handle. Cover the area where your hands normally sit and extend it farther only if you prefer additional grip.
Players looking for an alternative to traditional tape can consider the Lizard Skins DSP Hockey Grip Tape. It is designed specifically as a grip material and provides a different texture from standard cloth tape.
For players who want more coverage along the shaft, the Lizard Skins DSP Hockey Grip Long Grip Tape is another option. A longer grip can be useful if you regularly change hand position or prefer having a consistent textured surface over a larger section of the shaft.
The choice between traditional tape and a dedicated grip is personal. Neither option is automatically better for every player.
What About the Stick’s Existing Grip?
Some modern sticks already have a grip coating on the shaft. The Bauer Proto Grip Black Senior Ice Hockey Stick, for example, is designed with a grip finish intended to provide traction between the shaft and the player’s gloves.
If your stick already has a surface that feels secure, you may not need to cover the entire shaft with additional tape. You can tape the knob and leave the existing grip exposed.
On the other hand, if the factory finish does not feel right to you, a separate grip product can be used to create a texture that better matches your preference.
Taping Goalie Sticks
The same general principles apply to goalie sticks, although the blade is much wider and the stick is used differently from a skater’s stick.
A goaltender may tape the blade to protect it from normal wear and create a familiar surface for controlling the puck. However, there is no need to copy a skater’s exact tape pattern. Goalies often develop their own preferences based on how they make saves, play the puck, and use the stick around the crease.
The knob and handle can also be customized in the same basic way. The important thing is that the stick remains comfortable and secure in the hands.
When Should You Replace the Tape?
There is no fixed timetable. Replace blade tape when it becomes badly worn, starts peeling, or becomes saturated with moisture and dirt. Players who train several times a week will naturally go through tape more quickly than someone who only plays occasionally.
Grip tape should also be replaced when it becomes slippery, damaged, or uncomfortable. A fresh grip can restore the familiar feel of the handle without requiring a new stick.
You may also need to adjust the knob size over time. A younger player using the Warrior Alpha LX3 Pro Junior Ice Hockey Stick, for example, may prefer a smaller knob that suits their hands rather than copying an adult player's setup.
Tips for a Better Tape Job
The easiest way to improve is to experiment during practice. Try different amounts of blade coverage, adjust the size of the knob, or compare traditional tape with a dedicated grip. Change one thing at a time so you can tell what actually makes a difference.
Once you find a setup you like, keep it consistent. A familiar tape job means you already know how the stick will feel when you step onto the ice.
Ultimately, taping is about creating a comfortable and reliable setup. Whether you prefer traditional hockey tape, a modern grip, or additional stick grips and end plugs, the goal is the same: protect your equipment and make the stick feel natural in your hands.