
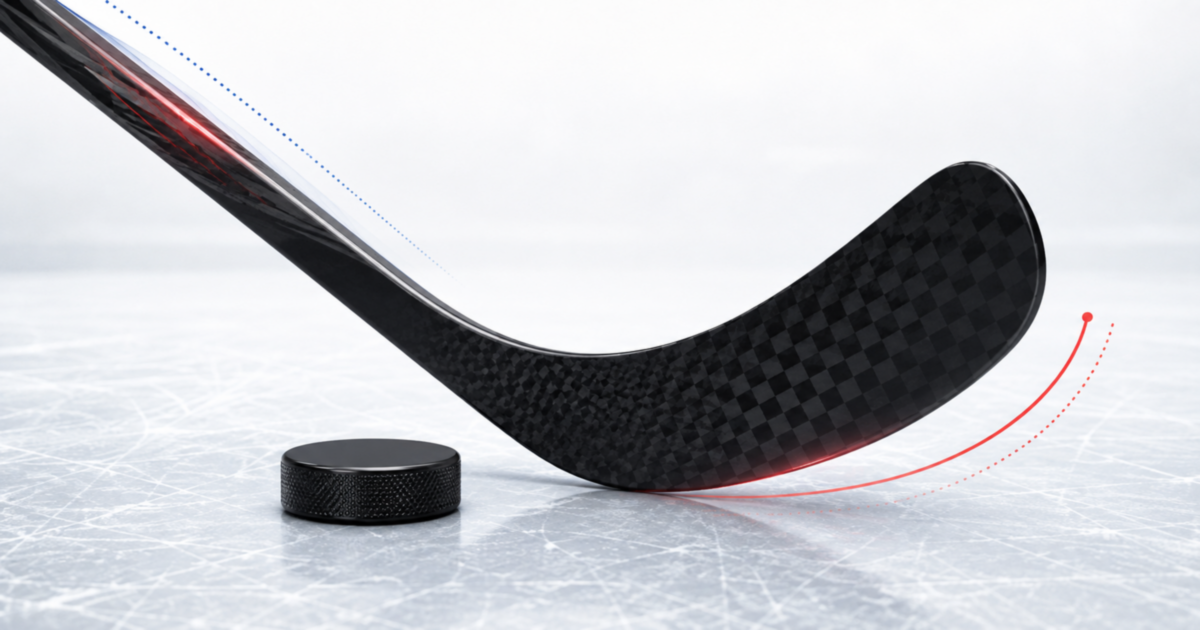
How to Choose the Right Ice Hockey Stick: Flex, Curve and Kick Point Explained
Picking the right stick changes everything about your game. Whether you are taking your first shift, joining an adult recreation league, or gearing up for another competitive season, your stick works as a direct extension of your hands on the ice.
Get the setup right, and catching hard passes feels soft, snapshots pop off the blade, and controlling the puck feels natural. Get it wrong, and you end up fighting your gear every shift—struggling to load force into your shots or dealing with tired wrists by the third period.
Pro Tip: A stick that is too stiff won't give you a harder shot. It just forces your forearms and shoulders to do work that engineered carbon fiber should be doing for you.
Standing in front of a giant stick wall at the pro shop can leave anyone confused. Between flex numbers, blade curves, and kick points, the details pile up fast. This guide breaks down the gear essentials so you can grab the right ice hockey sticks without second-guessing your pick.
1. Sizing & Handedness
Before touching flex or curve options, you need to land in the right size category. Sticks come in four main sizes based on age, height, and hand size:
|
Category |
Stick Length |
Typical Age |
Shaft Profile |
|
Youth |
46" – 52" |
Ages 4–8 |
Slimmer shaft dimensions and soft flexes built for small hands |
|
Junior |
52" – 56" |
Ages 7–13 |
Narrower feel designed for younger players learning puck control |
|
Intermediate |
56" – 58" |
Ages 11–16 |
Mid-size option for growing teens or adult players who prefer a slimmer grip |
|
59" – 64" |
Ages 14+ |
Standard full-size shaft thickness built for adult hands and power |
Handedness Basics
Handedness has nothing to do with which hand you write with. It simply comes down to how you hold the shaft:
● Left-hand shot (L): Your right hand sits on the top knob; your left hand sits lower on the shaft.
● Right-hand shot (R): Your left hand sits on the top knob; your right hand sits lower on the shaft.
2. Master Stick Flex
The flex number tells you how many pounds of force it takes to bend the shaft one inch. A solid starting rule: take your weight in pounds and divide it by two. If you weigh 170 pounds, start your search around an 85 flex.
|
Flex Range |
Shaft Feel |
Performance Difference |
Target Skater |
|
Lower Flex (70–75) |
Bends easily under light weight |
Quick, effortless snapshots |
Lighter players or quick-release forwards |
|
Higher Flex (85–100+) |
Stiff resistance under load |
Harder velocity on full-swing shots |
Heavier players or defensemen taking big slap shots |
Modern composite shafts lean toward lighter flexes because carbon fiber releases stored power fast without needing you to lean your entire body weight into the shaft.
● Too Stiff: You can't bend the shaft when shooting, which cuts your shot speed and strains your wrists.
● Too Soft: The stick feels rubbery, making hard shots wobble in the air and passes bounce off your blade.
Cutting a stick down makes it stiffer (raising the flex number), while putting an extension in the top makes it softer. High-end options like the CCM Vizion Senior Ice Hockey Stick or the Bauer Pulse Grip Senior Ice Hockey Stick feature composite layering that keeps energy transferring cleanly even if you cut the shaft down.
3. Deciphering Kick Points
The kick point is the specific section of the shaft engineered to bend the most under pressure. Match your kick point to where you shoot from and how you play:
|
Kick Point |
Flex Zone |
Primary Shot Type |
Target Player Profile & Example Model |
|
Low Kick |
Bottom third (near hosel) |
Wrist shots & fast snapshots |
Forwards working in tight spaces near the net. (e.g., Warrior Covert Deluxe Senior Ice Hockey Stick) |
|
Mid Kick |
Middle of the shaft |
Slap shots & heavy one-timers |
Defensemen shooting from the blue line and power shooters. |
|
Hybrid Kick |
Shifts with hand placement |
Adaptable snapshots & hard shots |
Playmakers taking shots from everywhere on the ice. (e.g., CCM Vizion Ice Hockey Stick Senior) |
4. Blade Patterns Demystified
Your blade pattern controls how the puck sits on your stick, how high your shots go, and how clean your pass receptions are.
|
Blade Element |
Variations |
Real-World Performance |
|
Curve Location |
Heel Curve (e.g., PM9)
Mid Curve (e.g., P92)
Toe Curve (e.g., P28) |
• Heel: Great for hard slap shots and flat tape-to-tape passes.
• Mid: The reliable all-around pick for stickhandling and lifting pucks.
• Toe: Made for toe-drags and shooting off the tip of the blade. |
|
Face Angle |
Open vs. Closed |
• Open: Twists open to pop pucks up fast in tight spots.
• Closed: Keeps shots low, hard, and under control. |
|
Blade Lie |
Standard Range: Lie 4 to 6 |
• Heel wearing down first: Lie is too high (or stick is too long).
• Toe wearing down first: Lie is too low (or stick is too short). |
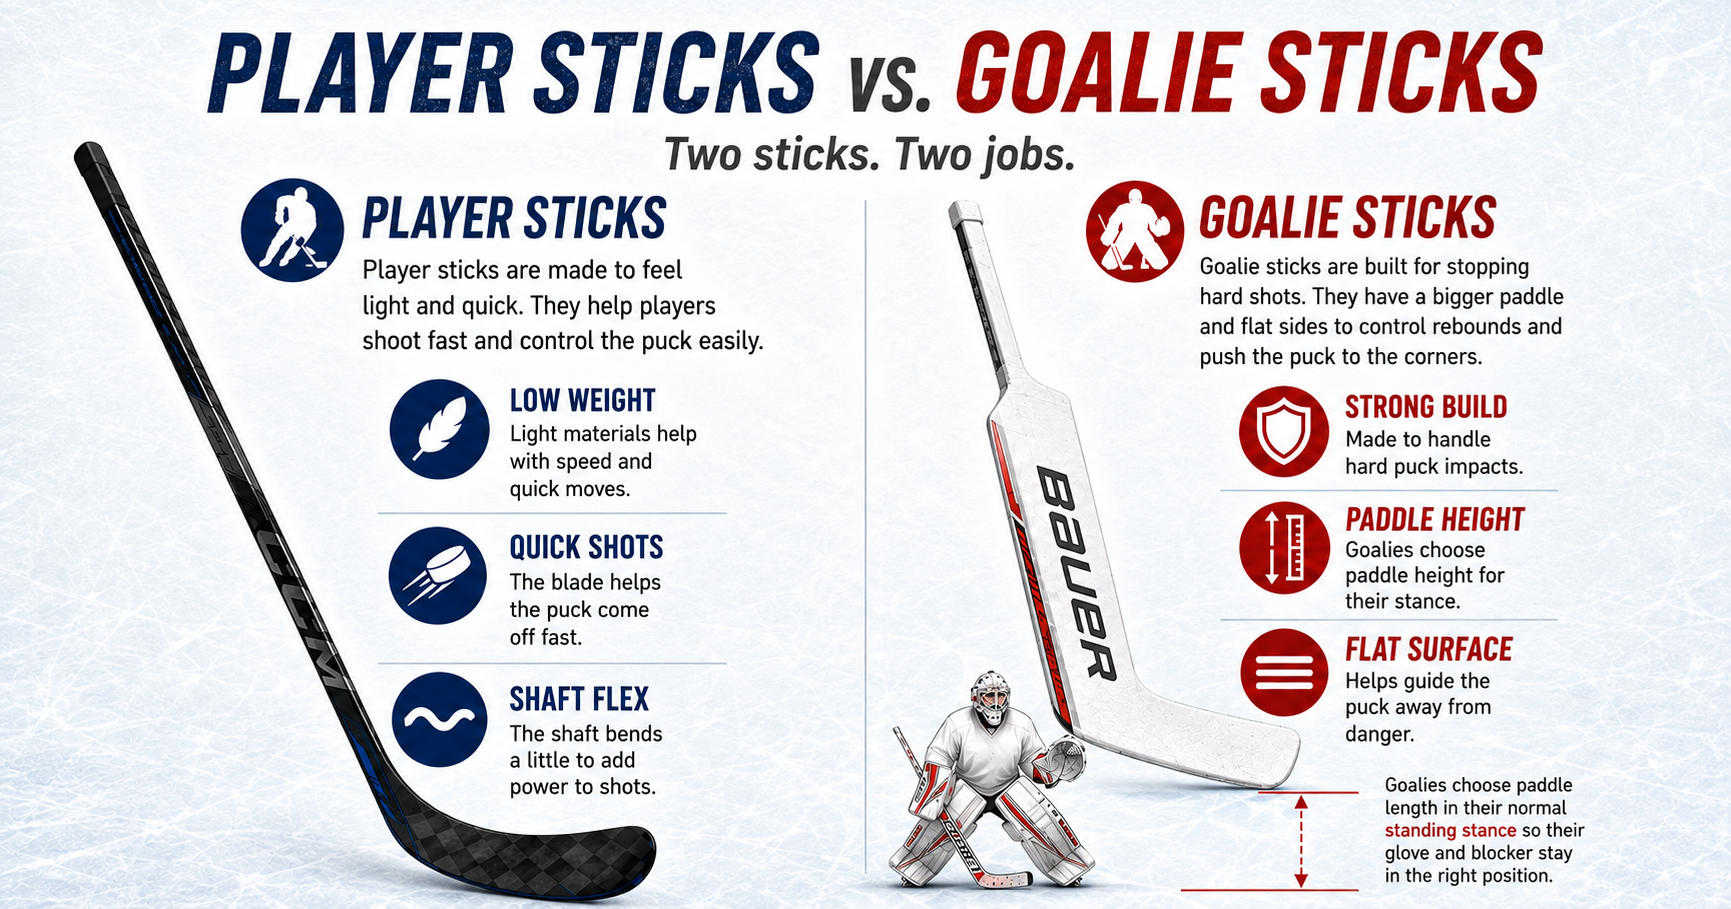
5. Player Sticks vs. Goalie Sticks
Outfield player sticks target low weight, blade pop, and shaft whip. Netminder gear follows an entirely different design path. Goalie sticks focus on absorbing heavy puck impacts, paddle height, and flat surfaces to steer rebounds safely out into the corners. Goalies pick their paddle length based strictly on their standing stance so their blocker and glove stay square to the puck.
6. Essential Accessories & Care
Taking care of your stick preserves shaft pop and keeps your gear working right game after game.
|
Category |
Gear / Accessory |
Purpose |
|
Grip & Control |
CCM Hockey Grip Tape |
Gives you a tight handle grip without shredding your glove palms. |
|
Grip & Control |
Blue Sports Grip Tape |
Soft, textured wrap for building a custom top knob. |
|
Blade Guard |
Camo Sports Stick Tape |
Protects carbon fiber layers from water, chips, and ice buildup. |
|
Prep Tools |
Bauer Tape Scissors |
Gives you clean cuts on tape edges without fraying. |
|
Tape Storage |
Howies Tape Tin |
Keeps tape rolls clean, dry, and free from bag dirt. |
|
Travel Bag |
Bauer Cooler Senior Ice Hockey Stick Bag |
Shields shafts from travel dings, trunk scratches, and weather changes. |
Taping Your Handle & Blade
Setting up your top handle with dedicated hockey tape gives you solid control over your stick. Using CCM Hockey Grip Tape or Blue Sports Grip Tape on the handle creates reliable traction without ripping up your glove palms.
On the bottom end, wrapping your blade with Camo Sports Stick Tape prevents moisture from soaking into micro-cracks in the blade core. Use a sharp set of Bauer Tape Scissors so the edges lay completely smooth against the blade.
Storage & Transport
Throw spare rolls inside a Howies Tape Tin so the tape stays sticky instead of collecting dirt at the bottom of your hockey bag. When driving to distant rinks, sliding your gear into a Bauer Cooler Senior Ice Hockey Stick Bag keeps your sticks safe from luggage bangs and sudden temperature drops in the car trunk.
Buyer's FAQ
Q: How do I know if my flex is too high?
A: If your shots feel weak, your forearms burn after a few shifts, or the shaft barely bows when taking snapshots, move down 5 to 10 flex points.
Q: How often should I re-tape my blade?
A: Re-tape as soon as you see tears or raw blade material. Exposed composite lets water seep inside, which weakens the blade core over time.
Q: Does cutting my stick ruin its kick point?
A: Cutting off an inch or two mainly makes the stick feel stiffer. If you cut off more than 3 inches, the flex zone feels noticeably higher up the shaft.